Crown Street, Wollongong, 2500

Digital Marketing Secrets: The Fast Way to Create Content for Blogs
Melody Jaimon • September 9, 2021
AI, or artificial intelligence, has definitely come a long way over the past couple of decades. Not only is AI disrupting major industries such as healthcare, banking, retail, travel, and gaming, but it is also starting to make its mark in the marketing and advertising industry through AI copywriting.
Yeah, you read that right. AI is so advanced nowadays that it has managed to make the impossible, possible – which is for a machine to create an effective copy that looks like it was written by a human. If you told me that 10 years ago, I don’t think I would have believed you. In fact, I would’ve probably called you crazy! But yeah, AI has now reached a point where it can help business owners (and even professional copywriters!) with their various content writing needs.
In this blog post, we will teach you how to create different types of social media content using a powerful AI made for copywriting. Whether it’s for your social media posts, Instagram captions, Pinterest pin descriptions, or your profile’s personal bio – this tool can help you produce the type of content that will engage and captivate your social media audience.
Creating Social Media Content Using AI
>>Signing Up By Clicking Here
1. Go to this link and hit the “Get Started” button.
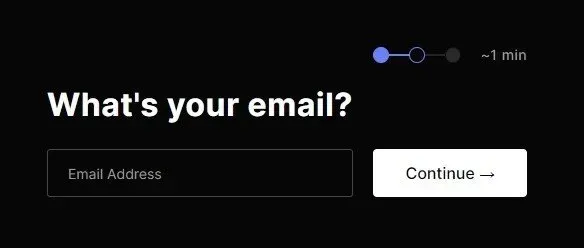
2. Enter your email address and then press Continue.
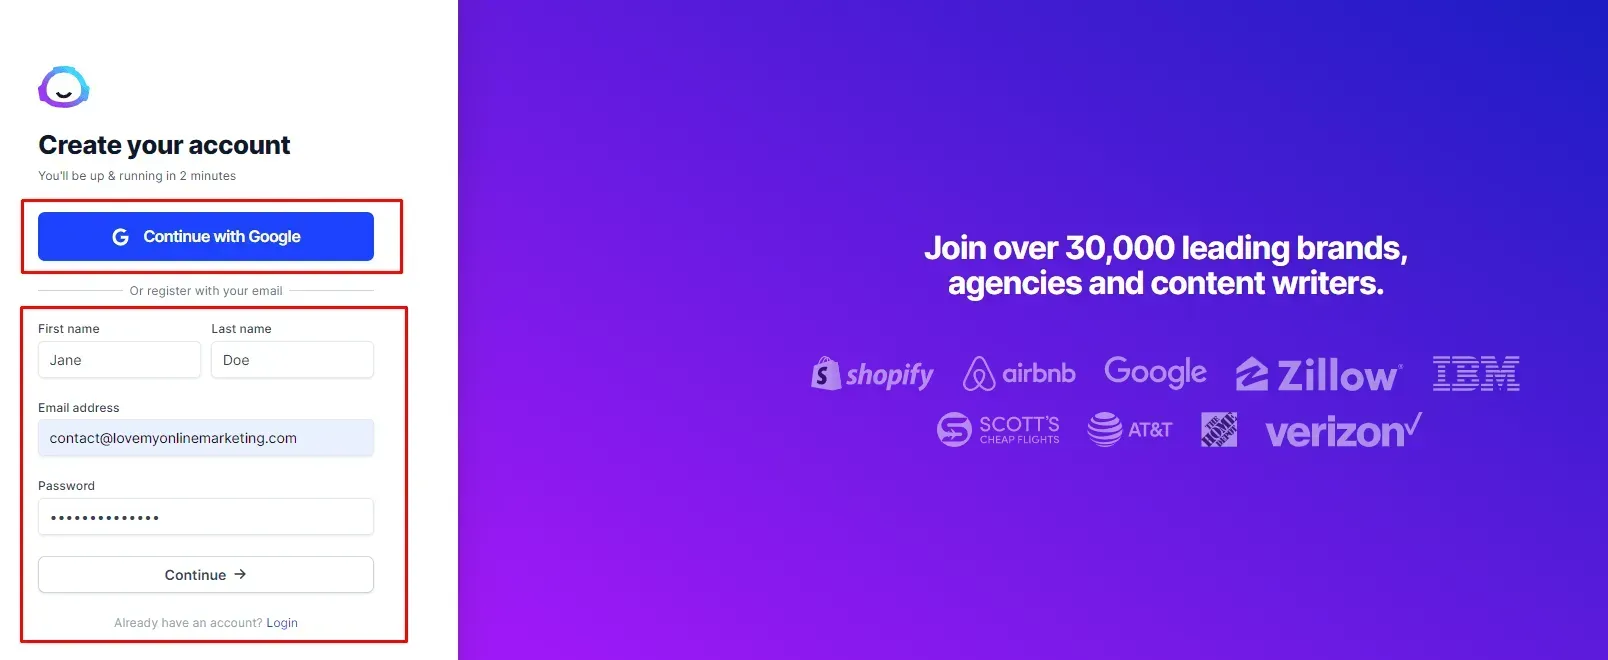
3. Create your account. You can do this by either signing up with your Google account or registering with your email address.
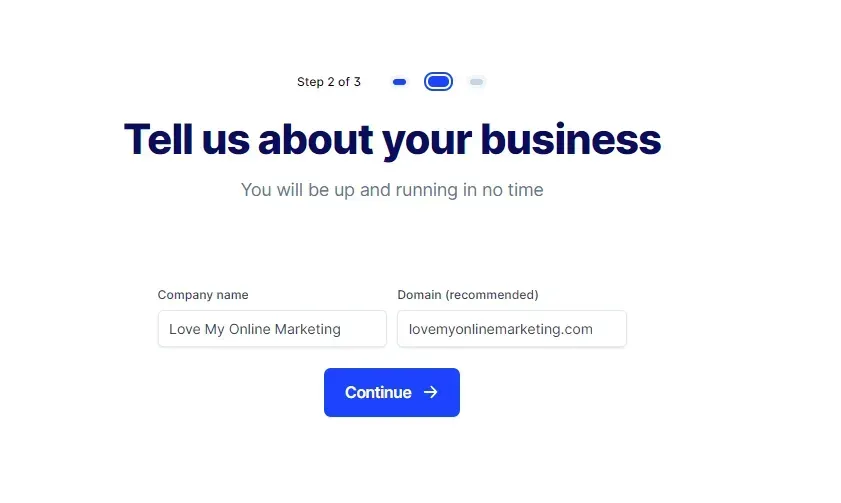
4. Enter your Company name and Domain. Press the “Continue” button to move on to the next step.
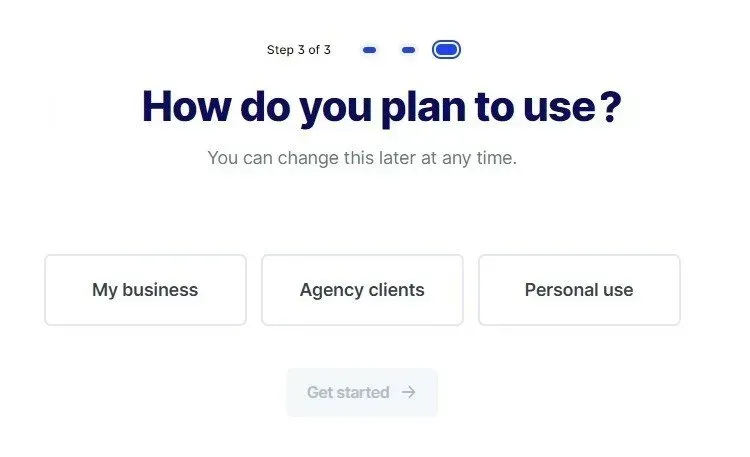
5. Select your purpose for using the tool. Is it for your business or for your personal use
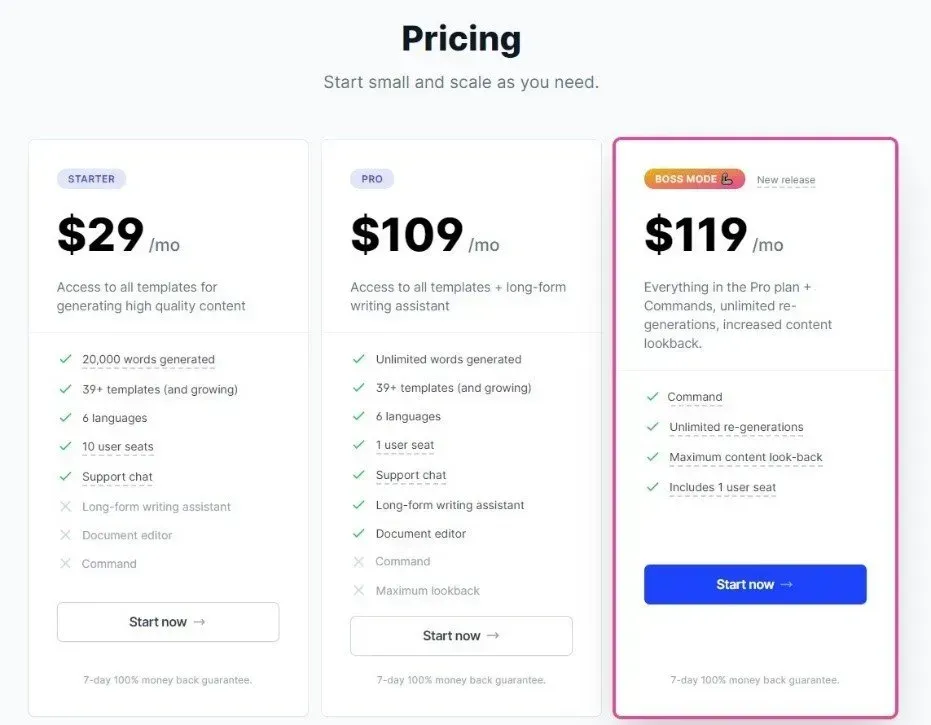
6. Choose the plan that fits your needs (and budget). The most expensive plan – the “Boss Mode” – offers the best in features and benefits. On the other hand, their cheapest plan – the “Starter” package – can help fulfill some aspects of blog content writing despite its limitations. If you are planning to use this tool for writing blog posts and other long form content, you should pick one of the two plans that don’t have any limit in words generated.
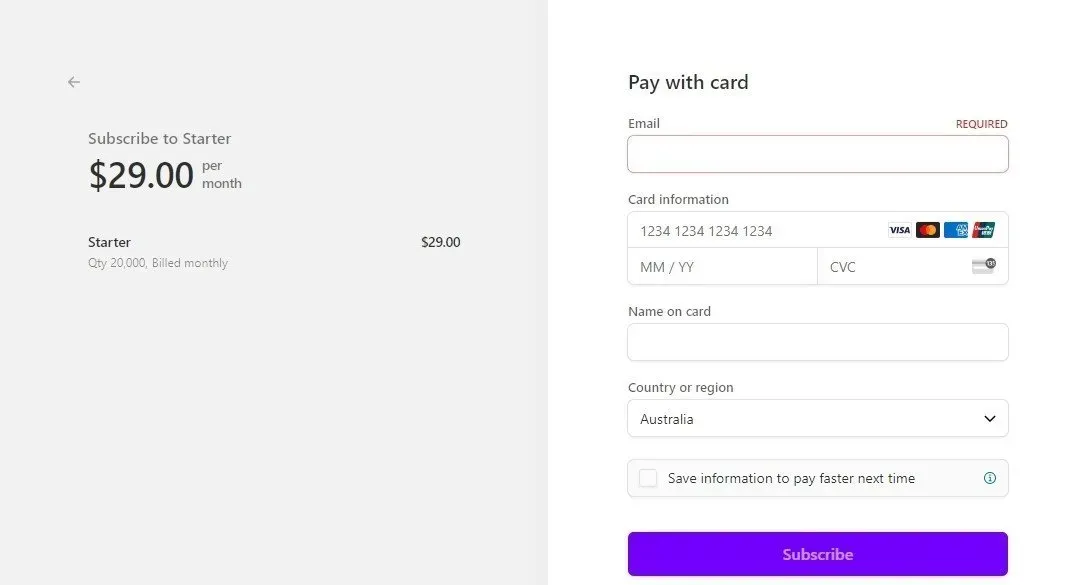
7. Enter your card information and then hit Subscribe. Once you’re done with this step, you can start using the tool.
Using the Tool
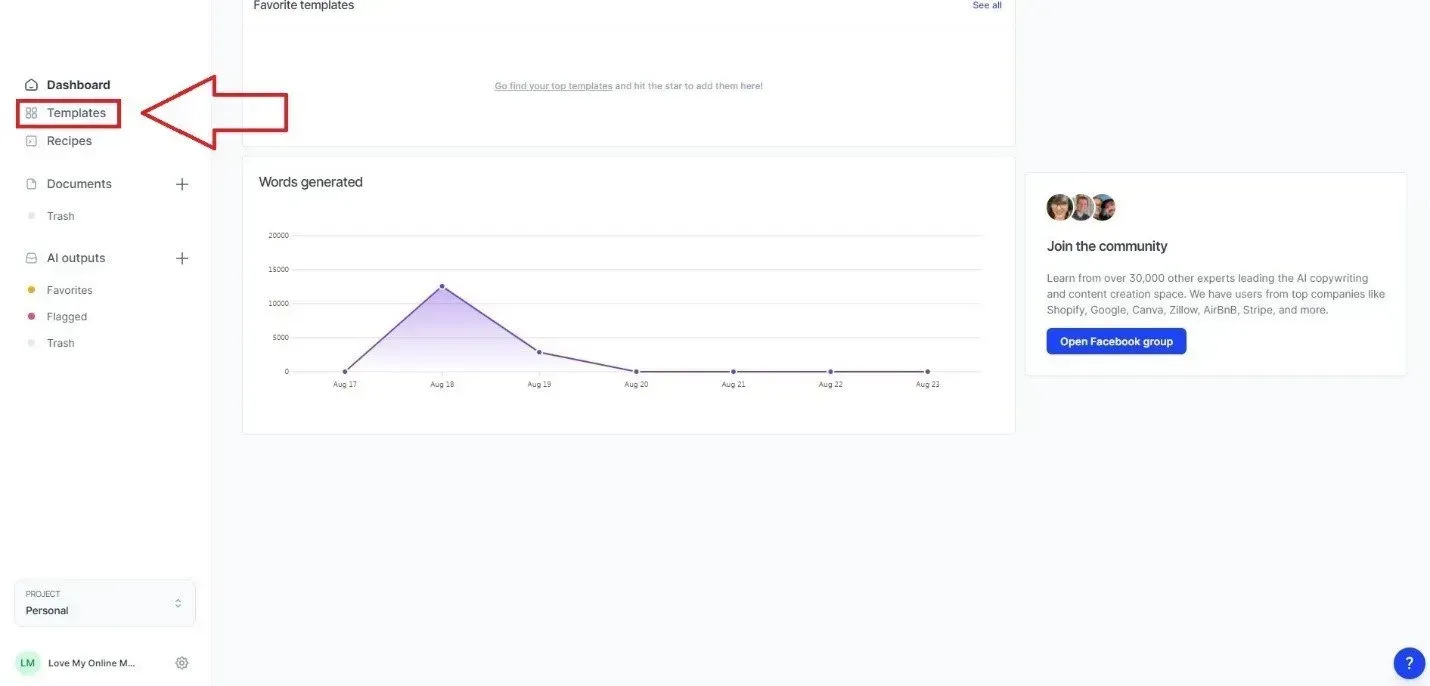
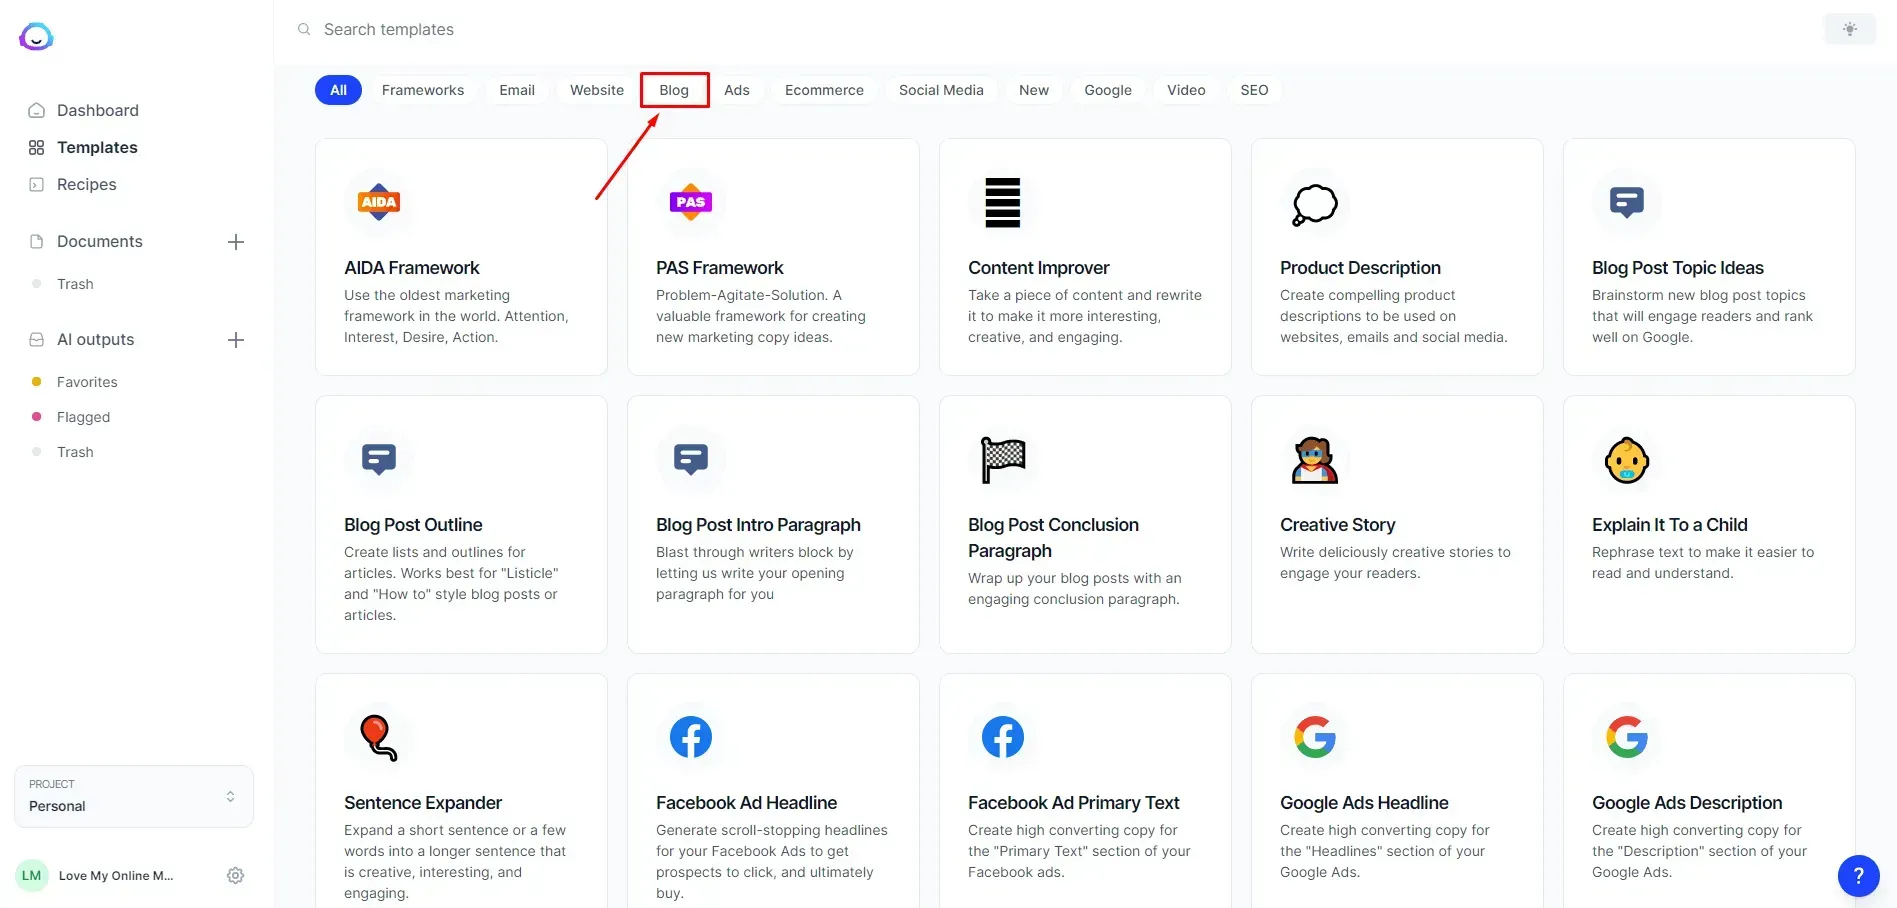
1. Open the tool. It will start on your personal dashboard by default. Here you can view your favourite templates along with the number of words you’ve generated over the last 7 days. To get started generating content for your blog posts, click Templates on the left side of the screen.
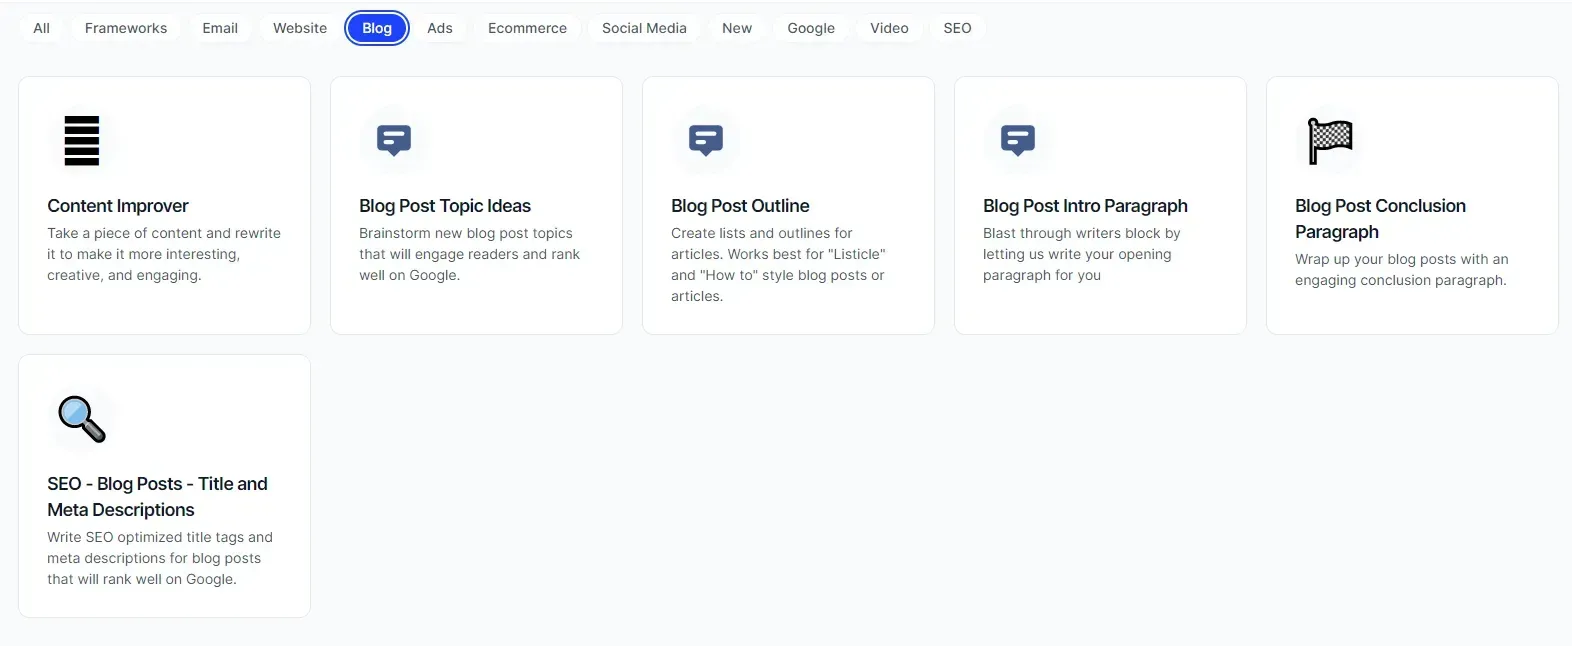
2. You will be greeted by over 50 templates. Since we will be using the tool for writing blog content, click the Blog filter button to only display the templates which are relevant to your needs.
3. Now that you have added a filter to the templates, it’s time to select the one that you want to use to help you with blog content writing. First, we will teach you how to use the Content Improver template, which can be used to enhance some parts of your blog post. Then, we will teach you how to use the Blog Post Intro Paragraph template. And to wrap it up, we will teach you how to use the template for generating blog topic ideas.
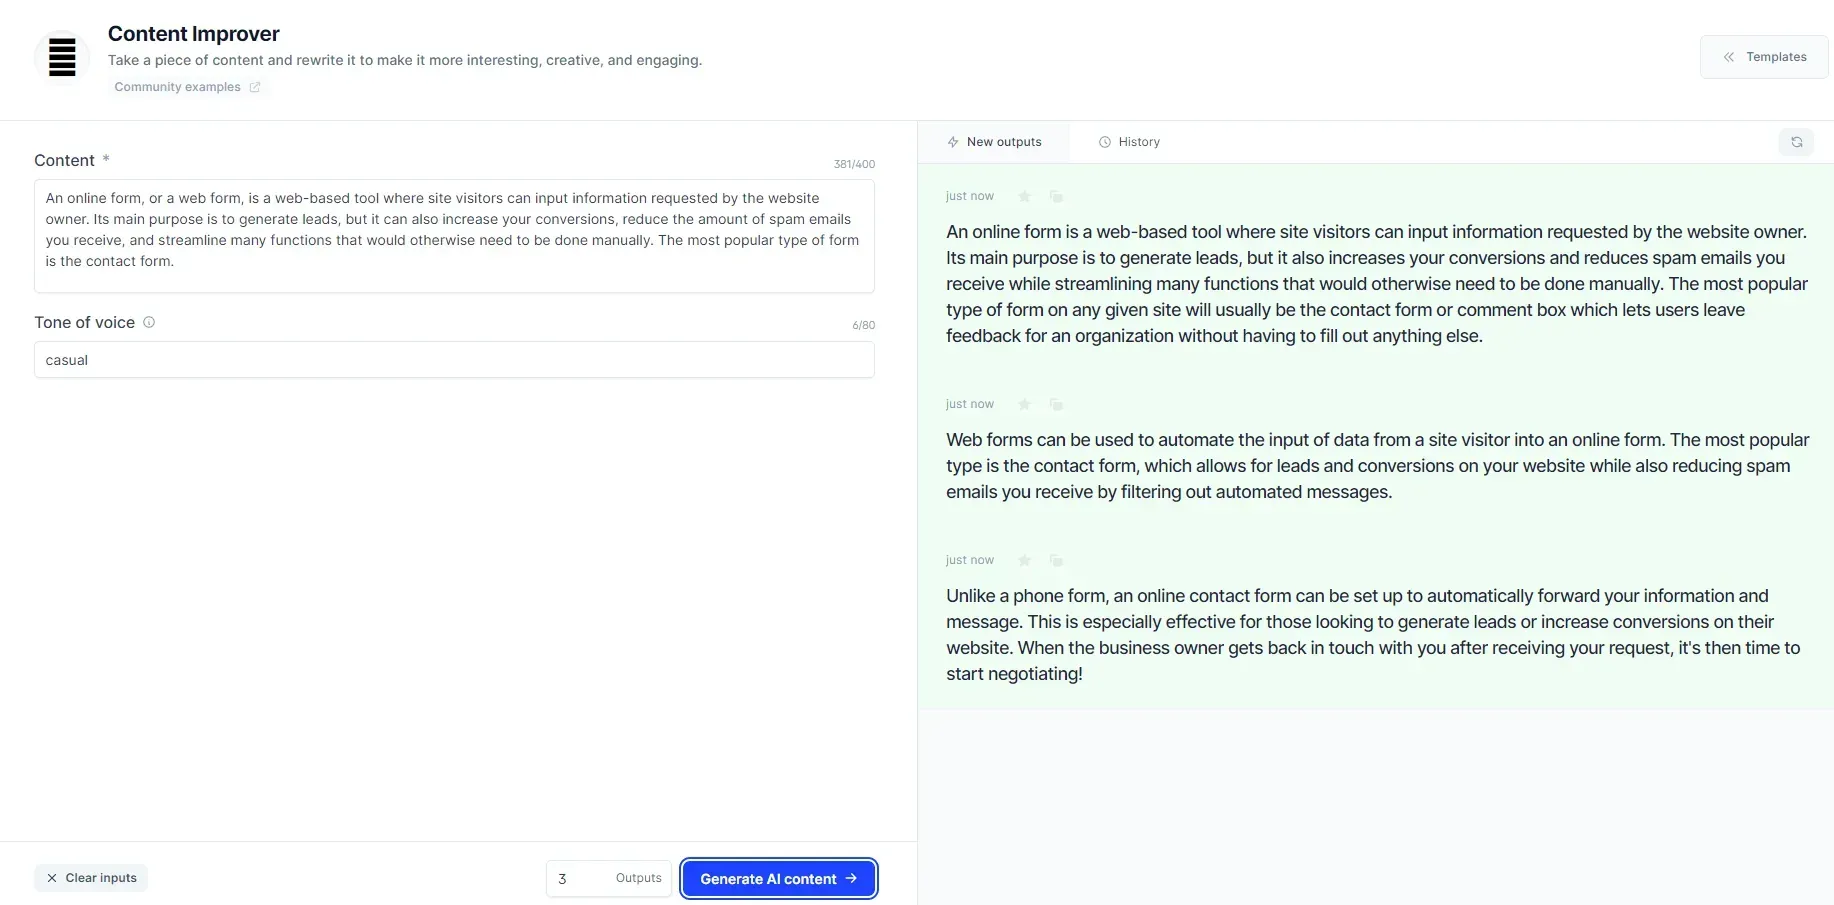
4. Enter a piece of content (max of 400 characters) and specify the tone of voice that you want it to have in the rewritten piece.
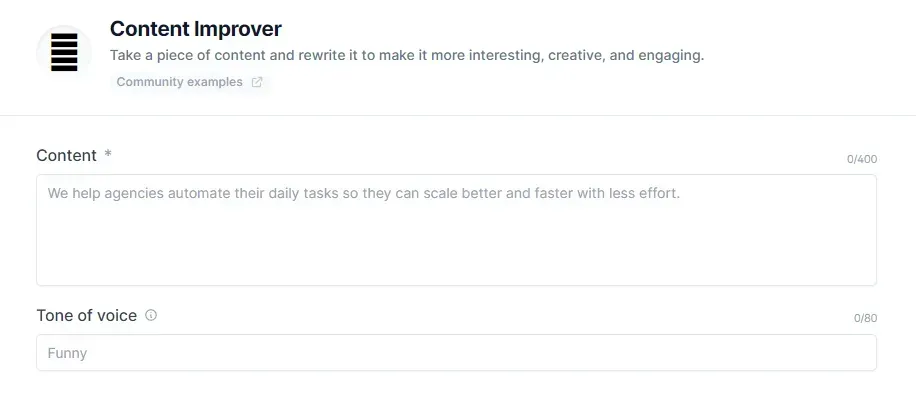
4.1. If you are not sure what to input under the tone of voice, hover your mouse pointer over the information icon beside it to see a couple of quick suggestions. To see a full list of the adjectives that you can use for the tone of voice, press ‘Click to see more’.

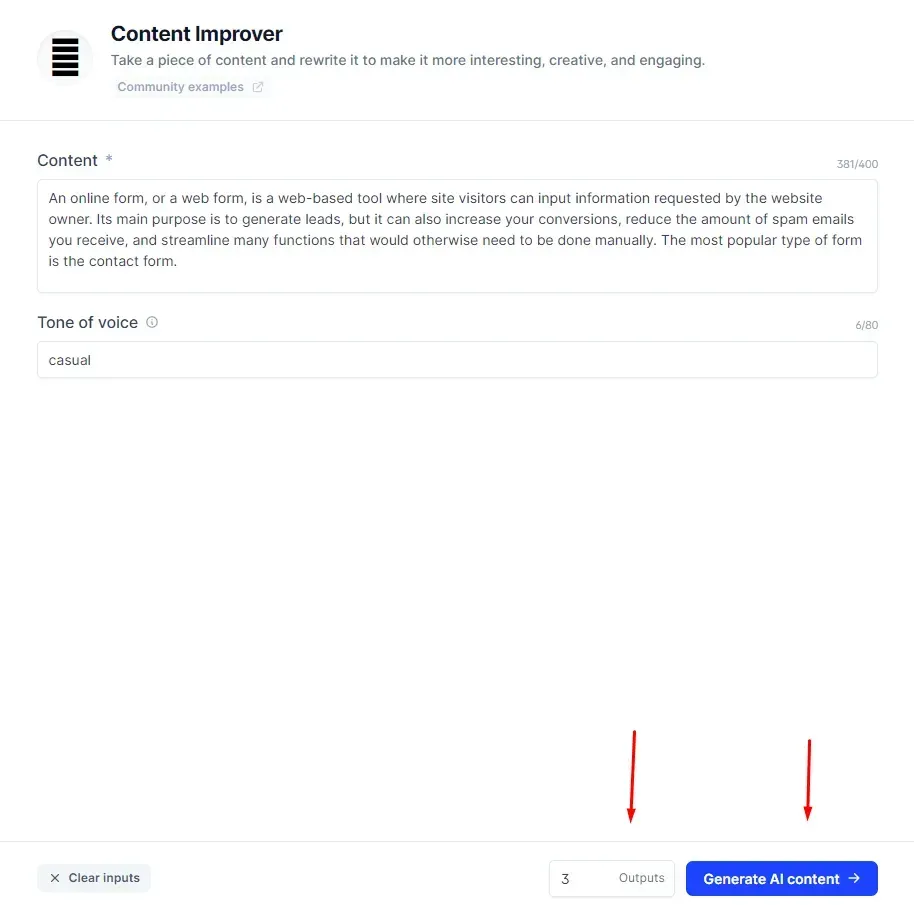
5. After entering a piece of content and choosing a tone of voice, select the number of AI-written outputs that you want to produce before pressing the ‘Generate AI Content’ button.
6. On the right side of the screen, you will see the content generated by the AI content rewriting tool. You will notice that the grammar, structure and content are near perfect and have a casual tone of voice. It’s like an actual human wrote them.
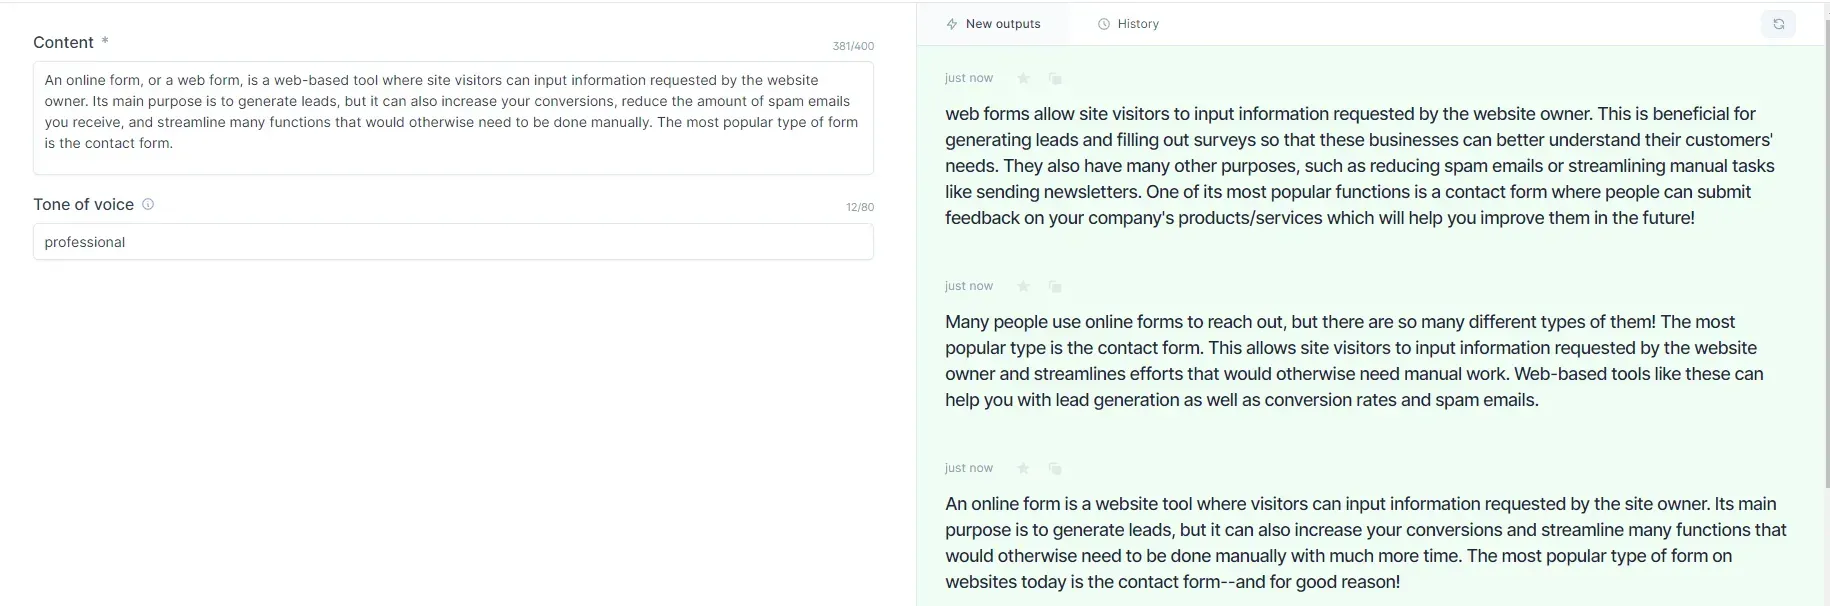
6.1. Here’s what the results will look like if you change the tone of voice to professional. You will notice the drastic shift in style from a casual tone to a more professional one suited for business writing.
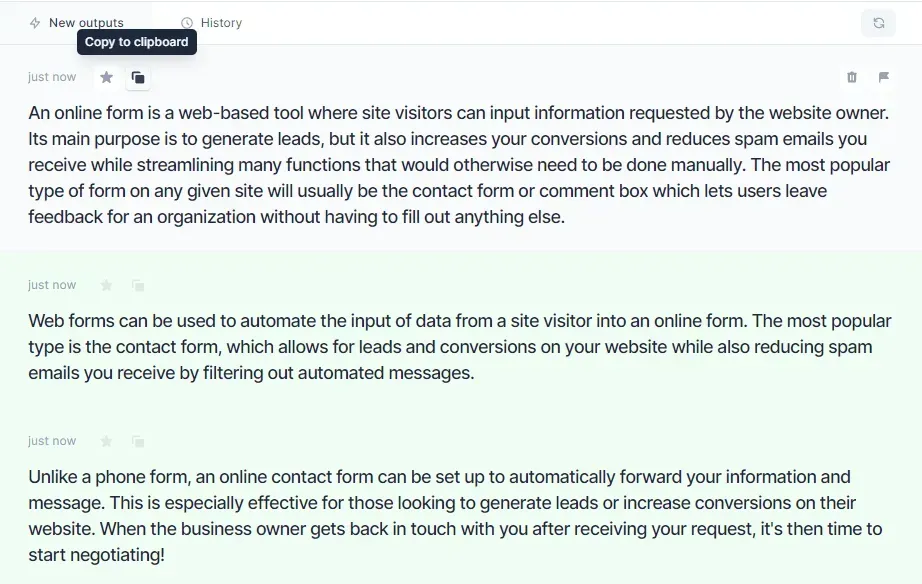
7. To use the content, simply click the ‘copy to clipboard’ icon located above each output and then paste it on your Microsoft Word document (or onto the file of the document writing tool you’re using). You can also add a particular AI-generated content to your favourites by pressing the star icon above it. It’s located beside the ‘copy to clipboard’ icon.
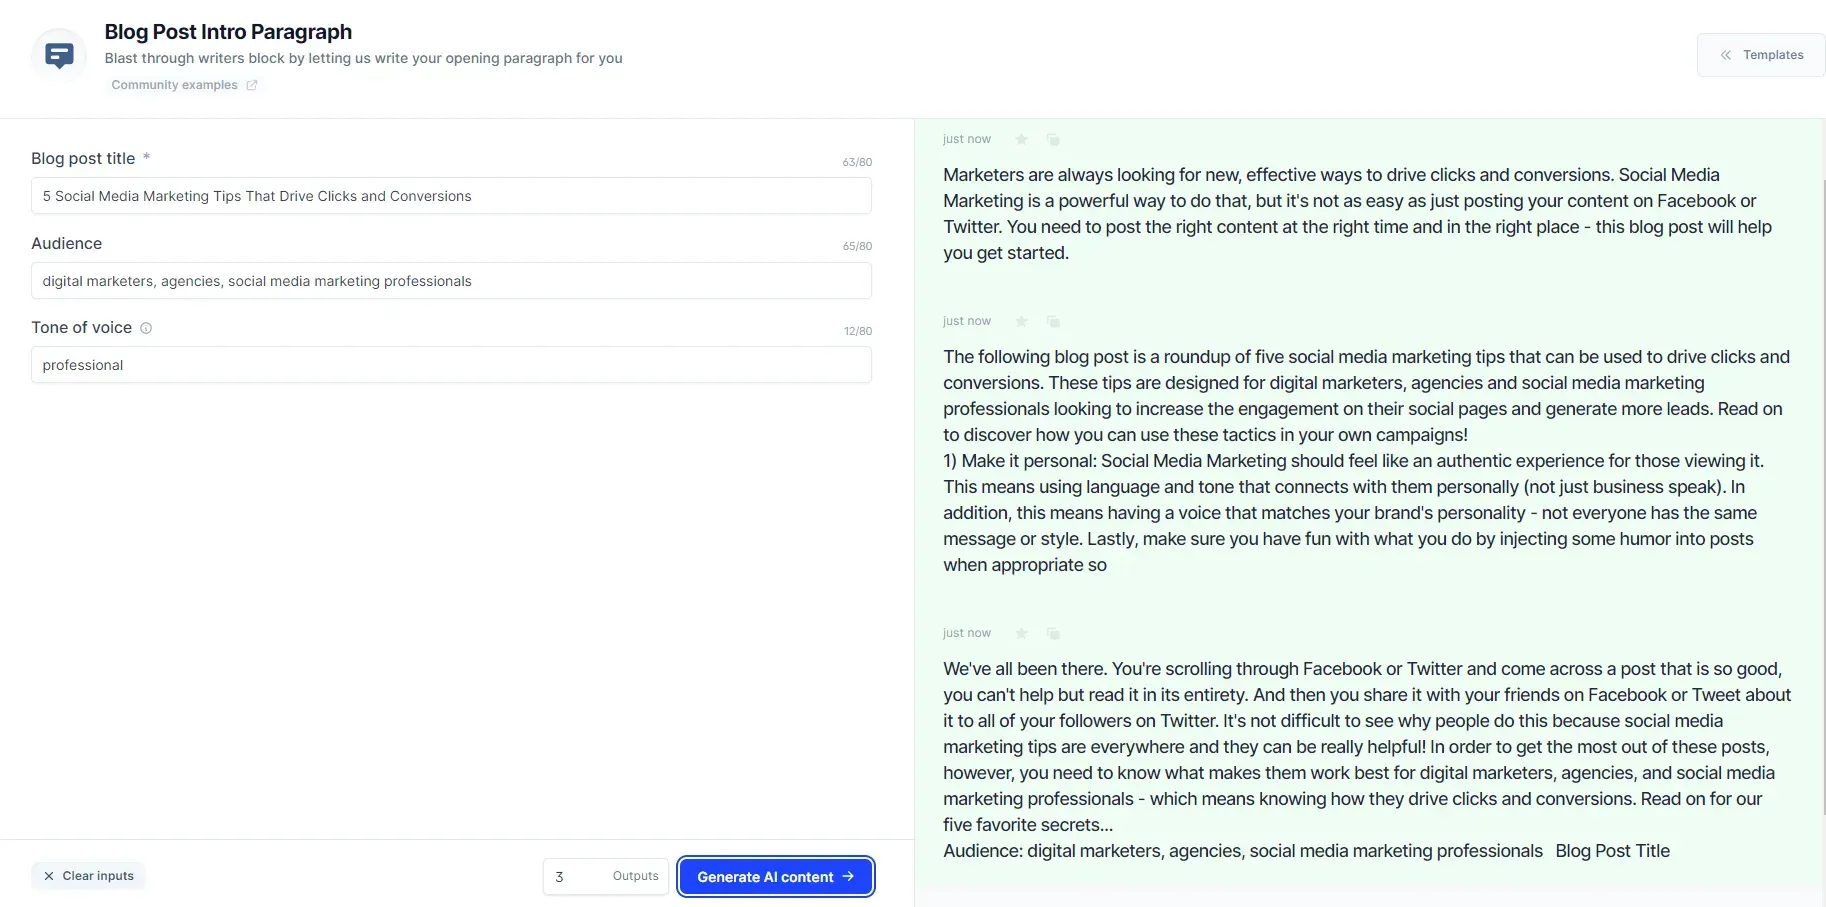
8. For the Blog Post Intro Paragraph template, it follows the same concept as the Content Improver tool but has different input fields that need to be filled up. To get started, type in your blog post title, your target audience (busy moms, Bitcoin holders, stock traders, digital agencies, etc.), and your tone of voice. Hit the ‘Generate AI Content’ button once you’re done filling up all fields.

9. Here are the outputs generated by the AI based on my inputs. Most of the time, the AI-generated bits are very usable and require only a couple of minor adjustments to make them perfect or to get them to match your voice. Oftentimes they make some interesting points that a copywriter can use to help them overcome writer’s block.
10. As for how to use the ‘Blog Post Topic Ideas’ template, simply enter your company name, product description, audience, and tone of voice. You will also have to enter a few examples to help the tool produce the best possible results. Here’s an example of what to fill out in this template.
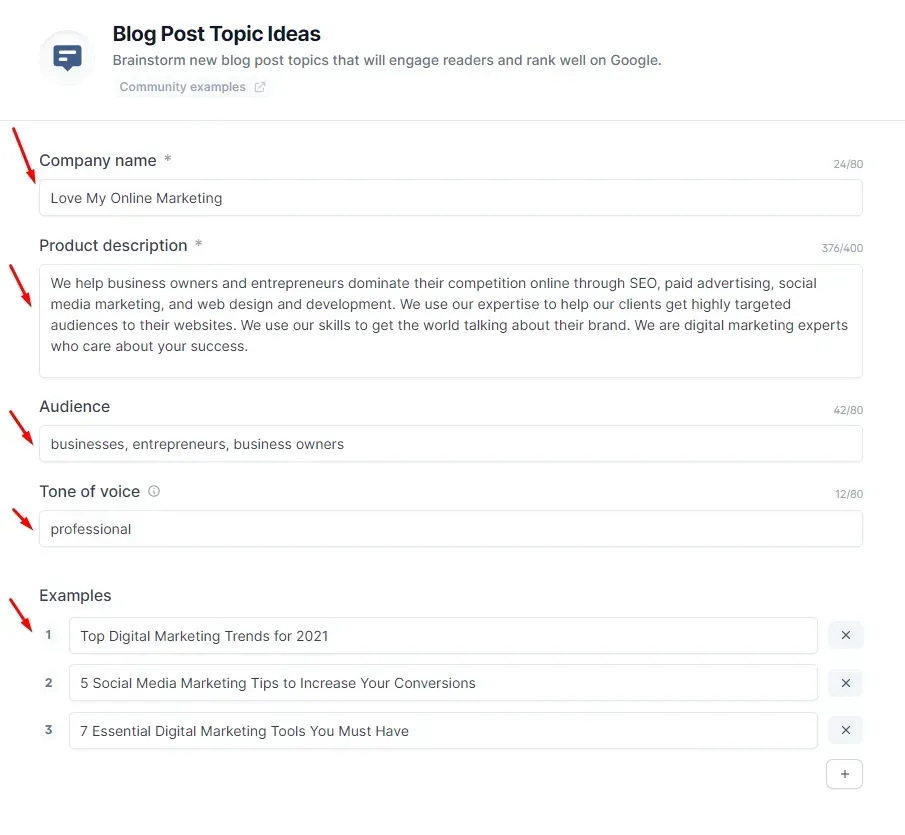
↓
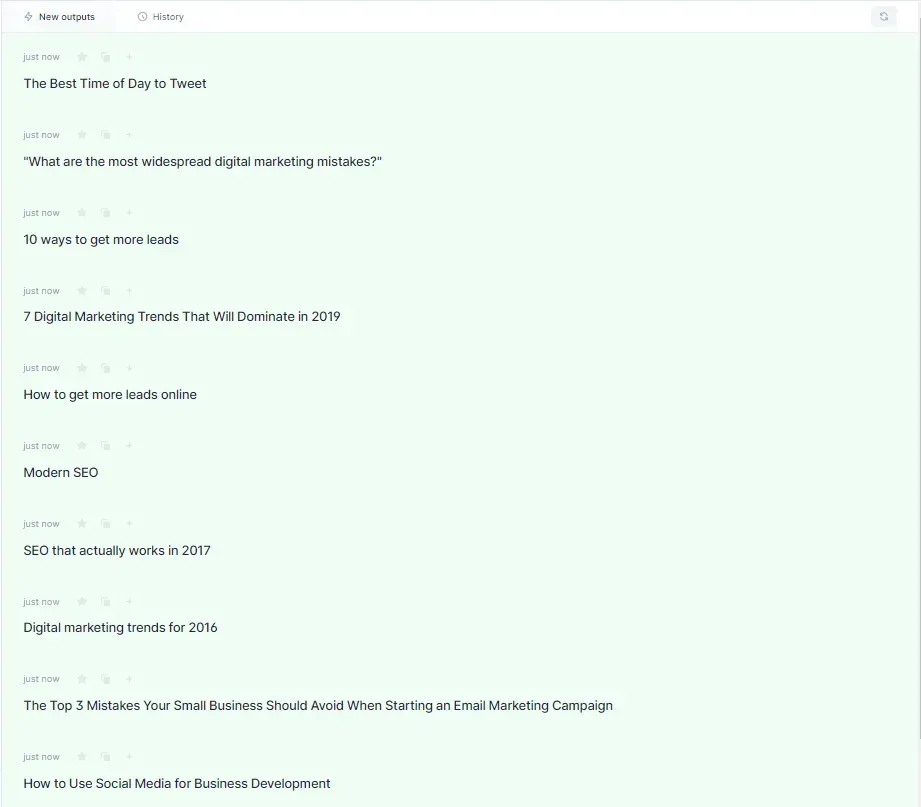
10.1. Here are the topics generated by the AI based on my inputs on the previous screenshot. The topics are interesting and similar to the examples I provided.
Conclusion
AI copywriting is a great tool for business owners, digital marketing agencies, entrepreneurs and professionals to use. As brilliant as it is, the technology should not be seen as a replacement for human writers but rather should be viewed as something that can help them streamline their writing processes and give them more time to focus on higher-level tasks. With that being said, feel free to use this tool and its collection of powerful templates to help you with your blog content creation needs.


Love My Online Marketing has 10+ Years of working alongside businesses and helping them grow. Discuss your options for online success from website Design and Development through to Google Marketing.
Do you want more traffic and business leads?
Love My Online Marketing is determined to make a business grow. Our only question is, will it be yours?