Crown Street, Wollongong, 2500

Figma for Web Designers: A Comprehensive Guide
Melody Jaimon • July 27, 2023
As web designers, we know that the ever-evolving landscape of digital design demands adaptability, efficiency, and innovation. With a plethora of design tools at our disposal, finding the one that seamlessly merges creativity with functionality can be an incredibly challenging endeavour. That's where Figma shines brightly among the competition
What is Figma?
Unlike traditional design software that requires local installations and file sharing, Figma operates entirely in the cloud. This means that designers can access their projects from any computer with an internet connection, making it easy to work from different devices or collaborate with team members in real-time.
Figma has gained popularity in the design community. It offers robust real-time collaboration features, allowing our team of Wollongong web designers to work simultaneously on a project. This capability is especially valuable for remote teams or distributed design collaborations as it enables seamless teamwork and efficient communication.
Getting Started with Figma
Creating an Account in Figma
1. Visit the Figma website at www.figma.com.
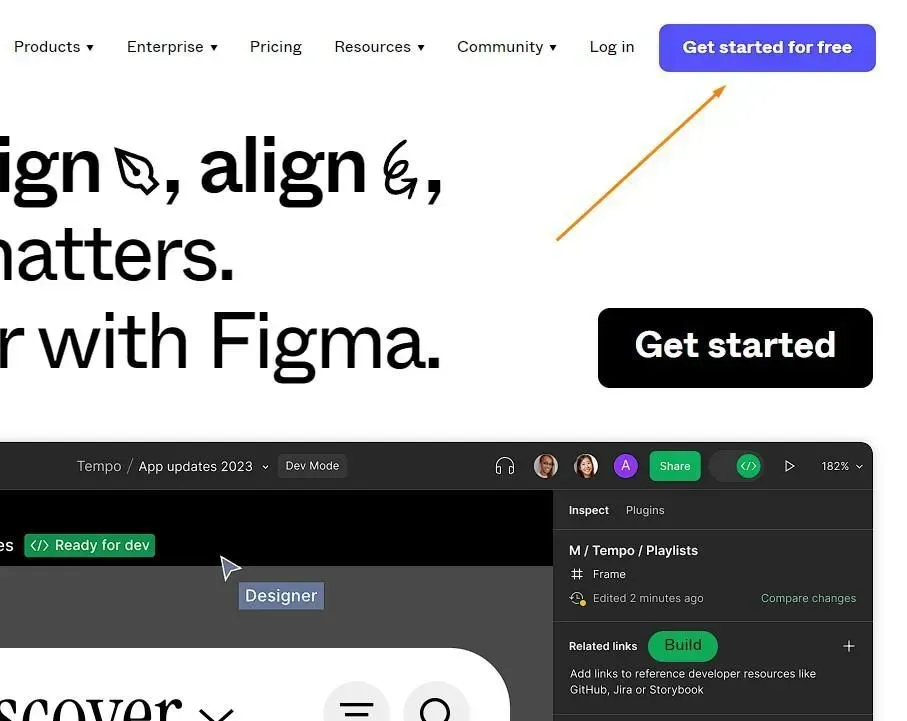
2. Click on the Get started for free button located on the top right corner of the website.
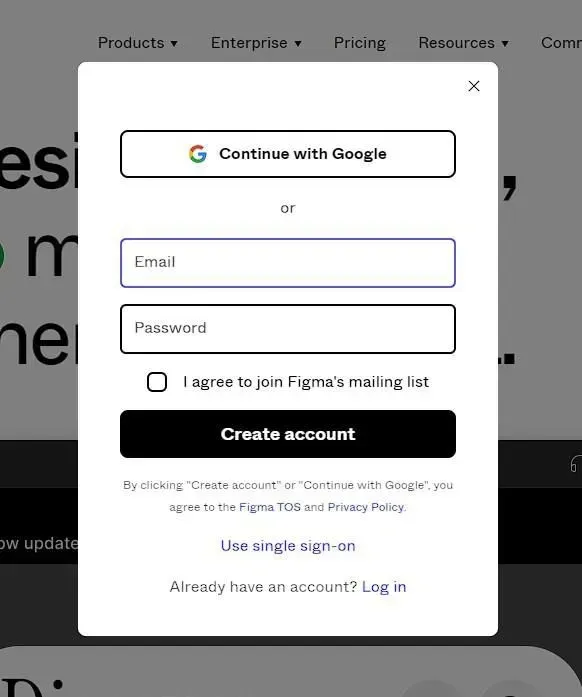
3. You can choose to sign up using Google or your email address.If you choose to use your email, enter your details and click on the Create account button.
4. Verify your account through the link sent to your email.
Setting Up Your Workspace in Figma
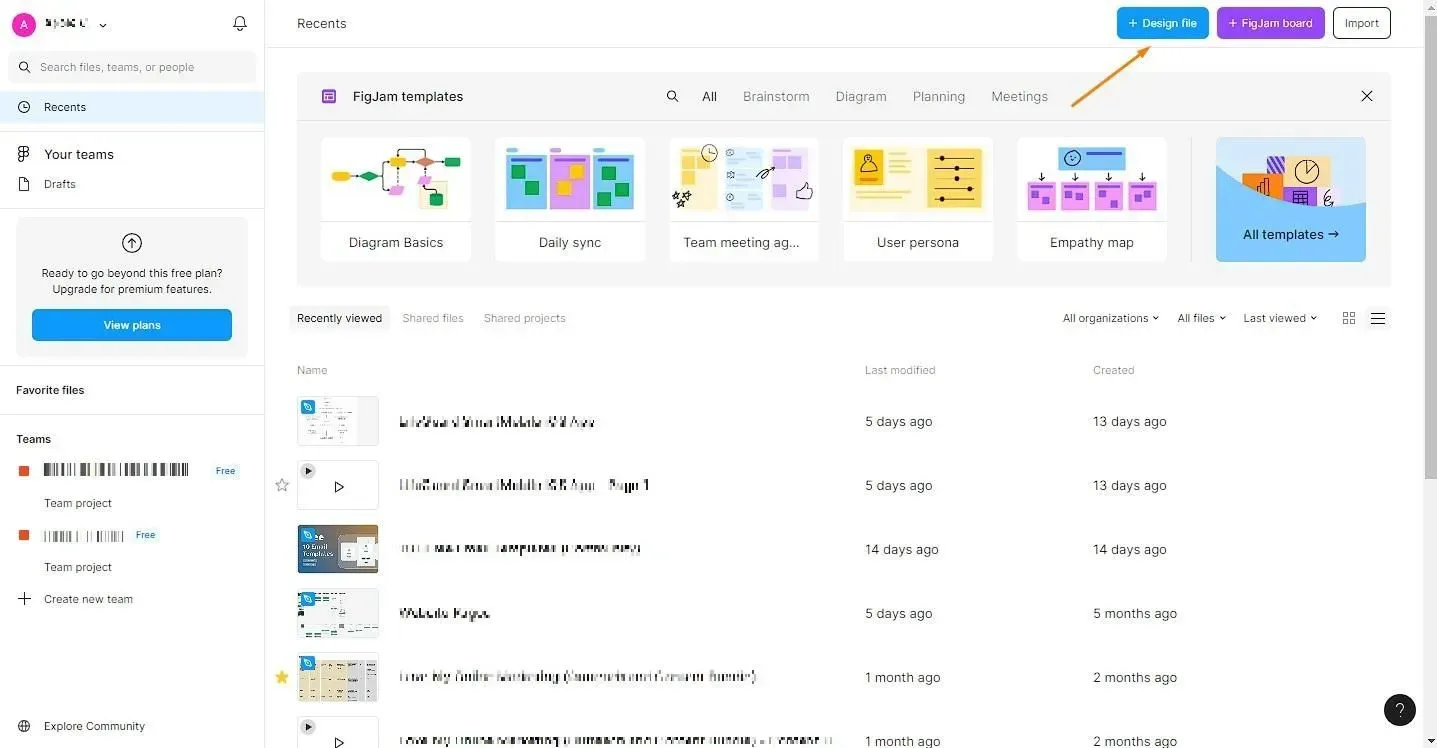
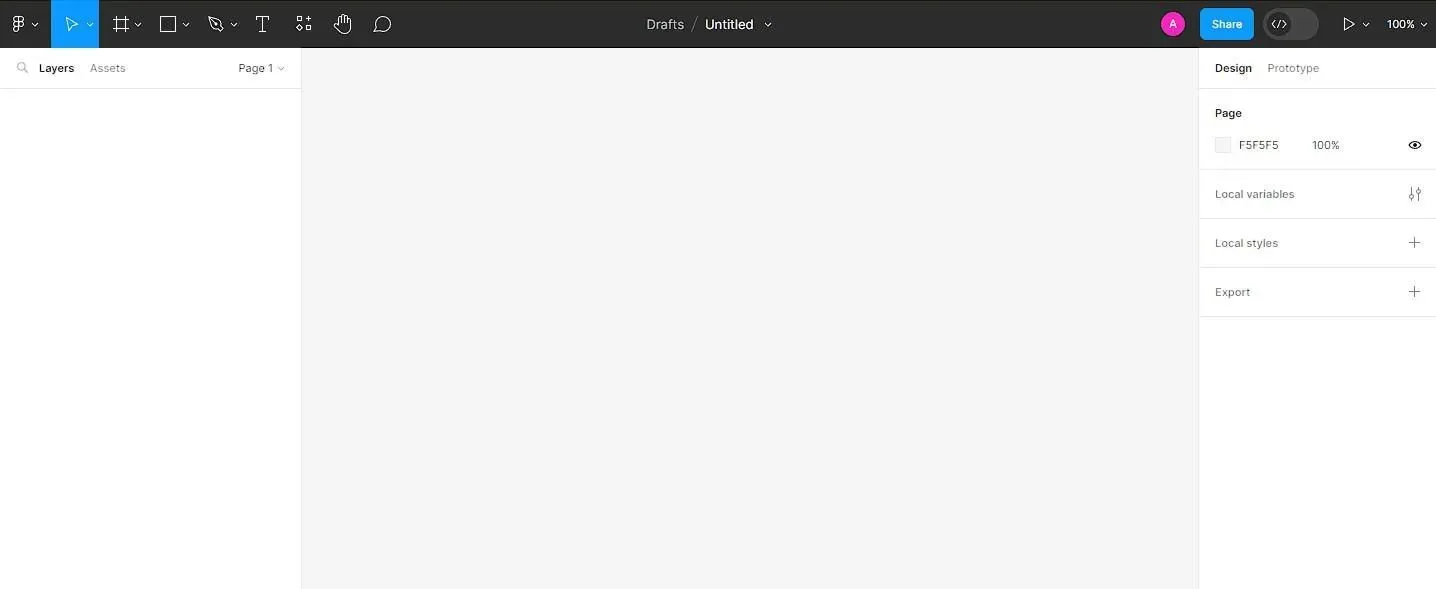
1. After logging into your Figma account, you'll be directed to the Figma dashboard. Click on the + Design file button to create a new file.
2. In the new file, you have your workspace. The workspace consists of a canvas area where you create your designs, and a toolbar that contains different tools for designing.
3. Drag the tools from the toolbar to the canvas to start designing. You can use the frame tool to create a frame, the shape tools to create shapes, and the text tool to add text.
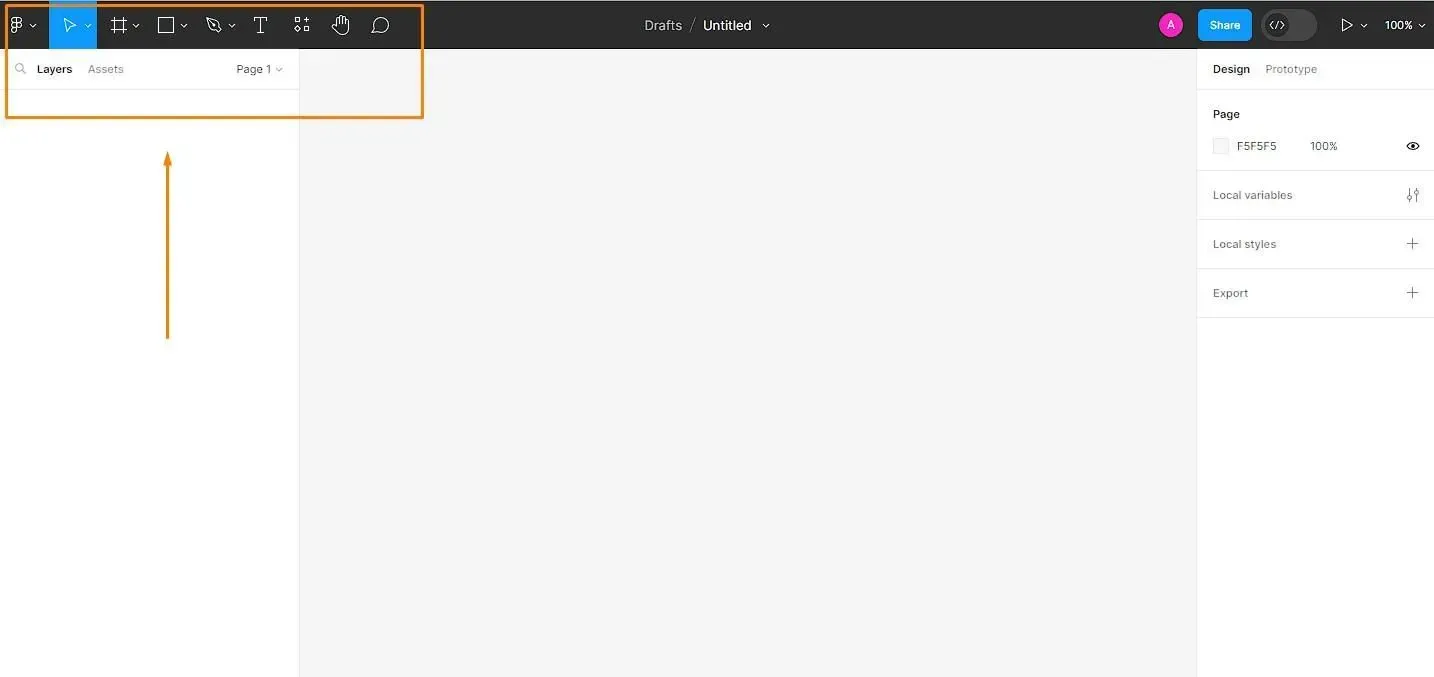
4. On the left side of the screen, you'll see the layers panel. This is where you can organise your designs into layers.
5. On the right side of the screen, you'll find the properties panel. Here, you can adjust the properties of the selected layer like its size, colour, position, etc.
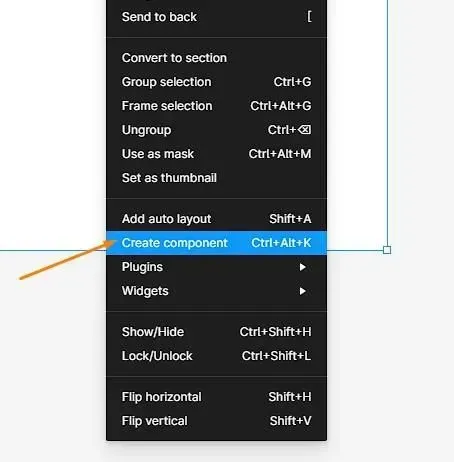
6. To create reusable components, select the design you want to make a component, right-click and choose
Create Component.
7. You can also invite others to your workspace by clicking on the Share button on the top right corner, entering their email addresses, and clicking Invite.

Designing in Figma
Exploring Figma’s Design Tools and Features
1. Layers and artboards
Layers in Figma represent individual elements within your design such as shapes, text, images, or groups of these elements. Each time you add a new object to your canvas, it appears as a new layer in the Layers Panel, which is located on the left side of the screen. The Layers Panel allows you to manage your layers effectively. You can:
- Rename layers for easy identification.
- Reorder layers by dragging them up or down in the list.
- Group layers together for better organisation.
- Hide or lock layers to prevent accidental edits.
- Nest layers within frames or other layers.
2. Vector editing and shapes
When working with vector graphics, Figma provides a comprehensive set of vector editing tools that allow designers to create and modify shapes, paths, and curves. These tools enable precise control over the geometry, size, and appearance of the vectors.
- Pen tool allows you to create vector shapes by drawing anchor points and adjusting their handles to define curves and angles.
- Shape tools can make you create basic shapes and customise their properties like size, corner radius, and number of sides.
3. Path Editing: Allows users to edit vector paths directly. You can manipulate anchor points and control handles to modify the shape of paths, creating custom curves and angles.
4. Boolean Operations: Enable you to combine, subtract, or intersect different shapes to create more complex forms. This feature is particularly useful for creating intricate icons, logos, or illustrations.
5. Typography and text styles: You can access typography options through the text editing toolbar, which allows you to customise various aspects of text. You can easily adjust the font family, font size, line height, letter spacing, and alignment to achieve the desired typographic effect. Figma supports a wide range of fonts, including popular typefaces from Google Fonts and other providers.
6. Colour management and styles: With centralised colour palettes, users can easily apply colours to design elements, with changes automatically updating across all instances. Figma also provides style management for text, grids, and effects, allowing for consistent typography, spacing, alignment, and visual effects. Any modifications to styles in Figma are automatically applied to all instances, ensuring design consistency and simplifying updates.
7. Grids and layout systems: By using grids, designers can establish a solid framework for arranging content, while layout systems provide rules and principles for organising elements within the grid. The use of grids and layout systems enhances readability, promotes consistency, and enables the creation of balanced and hierarchically organised designs.
Utilising Design Components
Figma allows you to create design components by selecting a group of elements and converting them into a component. Once created, you can customise the properties of the component, such as text styles, colour fills, and effects. Components can be nested within each other, allowing for the creation of more complex and flexible designs.
Prototyping and User Testing
Figma provides built-in prototyping capabilities, allowing teams to create interactive prototypes without the need for additional tools. This feature enables designers to gather user feedback and conduct usability testing, ensuring designs meet user needs.
Integrations and Plugins
This offers a wide range of integrations andplugins that enhance collaboration and productivity. Teams can integrate Figma with project management tools, design systems, and other software to streamline workflows and automate tasks.
Version History and Design Iterations
It maintains a detailed version history of a design file, allowing users to review and roll back to previous versions if needed. This functionality enables teams to experiment, iterate, and explore different design ideas without the fear of losing progress.
Presenting Your Designs Using Figma’s Presentation Mode
Figma's Presentation Mode is a feature that enables designers to transform their static designs into interactive and dynamic prototypes. It provides a seamless way to present your designs to clients, clients, or team members and enables them to experience the design as if it were a live product.
How to Access Presentation Mode in Figma?
Accessing Presentation Mode in Figma is straightforward:
Open Your Design File: Log in to your Figma account and open the design file you want to present.
Enter Presentation Mode:
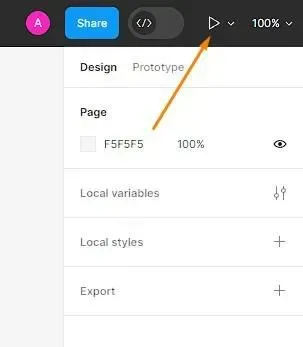
Once the file is open, click on the "Present" button located at the top-right corner of the Figma interface.
Now that you are in Presentation Mode, here are some key functionalities and tips to effectively present your designs:
Navigating Between Frames:
Use the arrow keys on your keyboard or the navigation arrows provided on the screen to move between different frames in your design. This helps you guide the audience through the user flow and showcase various design iterations.
Hotspot Interactions: You can add hotspot interactions to your frames to create clickable areas that simulate the user experience. To do this, select an object or element, click on "Prototype" in the right sidebar, and create connections to other frames or URLs. This allows your audience to interact with your design and understand its functionality better.
Device Frames:
If you designed your project for a specific device, you can choose to showcase your prototype within a device frame to give it a more realistic look. Figma offers a variety of device frames to choose from, including smartphones, tablets, and laptops.
Full Screen Mode: To make your presentation even more immersive, click on the "Fullscreen" button in the bottom right corner of the screen. This eliminates distractions and ensures that your audience focuses solely on the design.
Zooming and Panning:
Figma's Presentation Mode enables zooming in and out on your design by using the scroll wheel on your mouse or trackpad. Additionally, you can click and drag the design to pan across the canvas and view different areas in detail.
Notes and Comments:
As a presenter, you can add notes and comments to specific frames to provide context or explain design decisions. These notes are only visible to you and are helpful for recapping important details during the presentation.
Collaborating With Clients and Gathering Feedback
Real-Time Collaboration in Figma:
Gone are the days of sharing design files through emails or exporting static images for review. Figma's real-time collaboration feature allows multiple people to work simultaneously on the same design file, fostering seamless teamwork. This enables designers, clients, developers, and other team members to collaborate efficiently, view changes instantly, and provide feedback in real-time.
Key Benefits of Collaborating in Figma:
Live Design Reviews: Clients can participate in live design reviews where they can view the design, leave comments, and offer suggestions directly on the canvas. This immediate feedback loop ensures that everyone is on the same page and reduces miscommunication.
Version History:
Figma keeps a detailed version history, allowing designers to track changes and revert to previous iterations if needed. This feature provides a safety net during the design process, making it easy to experiment with ideas while keeping the ability to return to earlier stages.
Commenting and Annotations: Clients can leave comments and annotations on specific design elements, making it easy to address particular aspects of the design. Designers can respond to these comments, fostering transparent communication and clarifying any doubts clients may have.
Effective Ways to Gather Feedback in Figma:
Share a Prototype Link: Designers can create interactive prototypes in Figma and share them with clients using a unique link. They can explore the prototype and provide feedback on user interactions, flows, and overall usability.
Use Commenting and Mentioning:
To draw attention to specific design elements, designers can use the commenting feature and mention relevant people. This ensures that the right people are notified about particular feedback points, streamlining the feedback process.
Conduct Design Workshops:
For more comprehensive feedback sessions, designers can conduct virtual design workshops using Figma's collaboration features. This interactive approach encourages clients to engage actively and provide detailed insights.
Utilise Shared Libraries:
Designers can create shared component libraries in Figma, allowing clients to access and use approved design elements across various projects. A library is a collection of design assets, including design components, styles, and even entire design files. These can be shared and collaborated across multiple projects and teams, ensuring consistency and enabling design reuse.
Final Thoughts
Figma has undoubtedly emerged as a trailblazer in the design industry, offering a comprehensive suite of features that cater to designers' needs for collaboration, efficiency, and creativity. At Love My Online Marketing, we have fully embraced Figma's transformative power in our design process. The results so far have been nothing short of extraordinary.
As the design landscape continues to evolve, Figma's dedication to empowering designers through innovation and user-centric solutions ensures it will remain at the forefront of the industry's future advancements. Designers can look forward to an exciting journey with Figma, where their creative potential can thrive and redefine the way we approach design collaboration and prototyping.


Love My Online Marketing has 10+ Years of working alongside businesses and helping them grow. Discuss your options for online success from website Design and Development through to Google Marketing.
Do you want more traffic and business leads?
Love My Online Marketing is determined to make a business grow. Our only question is, will it be yours?