Crown Street, Wollongong, 2500

Website Builder
Melody Jaimon • September 4, 2025
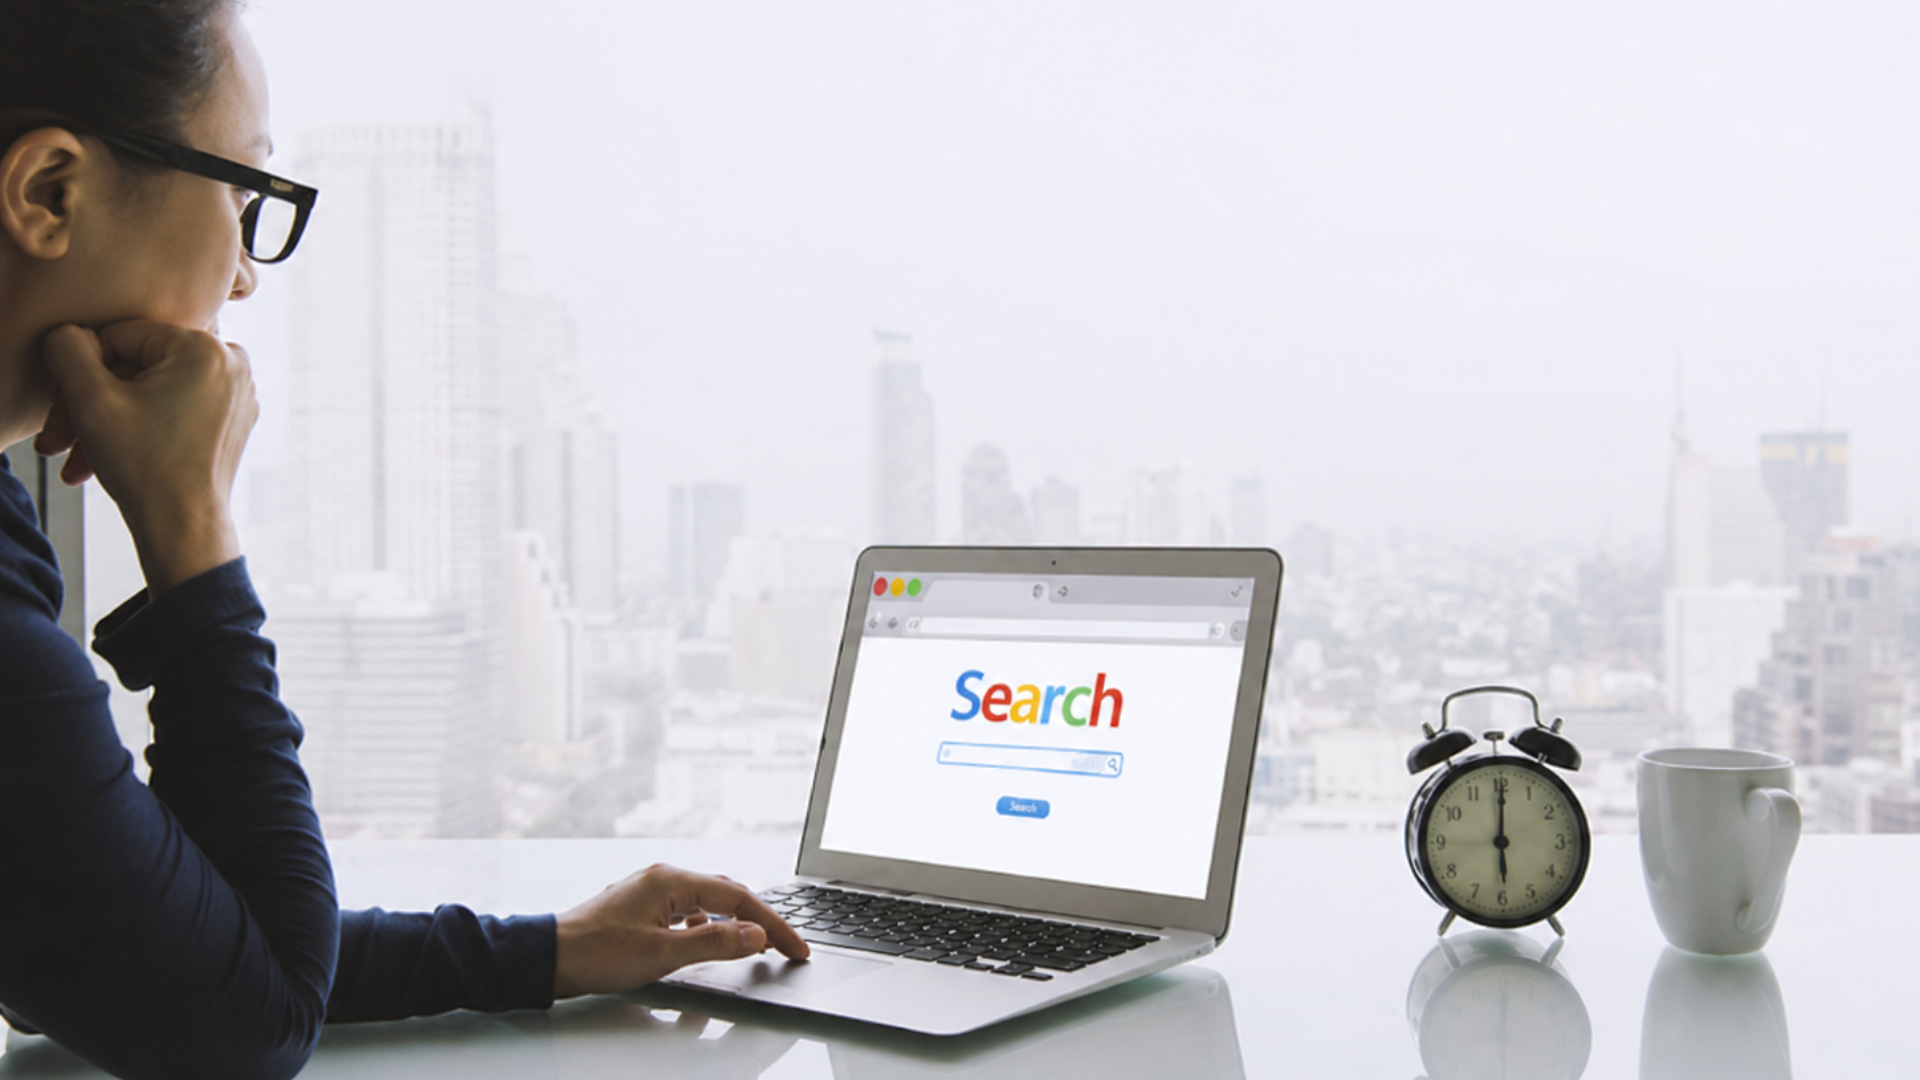
Building a website doesn’t have to be tricky. Your Website Builder comes with a full set of guides and articles to help you sort things out quickly. These guides are grouped into sections so you always know where to look. This article explains how to get to each section and how to use the step-by-step instructions inside. Everything is written simply so you can follow along even if you’re not too techy.
The Editor Is Easier Than You Think
Here's something most people don't realise when they log into their website for the first time: you're already closer to making changes than you think. The editor is built around a simple drag-and-drop interface, and once you understand how the screen is laid out, editing feels natural, even enjoyable.
Whether you want to update your homepage headline, swap out a photo, or add a new page, it all starts with knowing your way around the editor. This guide walks you through the key areas so you can get in, make your changes, and get back to running your business
To understand more, view the following video:
3 Most Actionable Takeaways
- Use the Side Panel as your command centre
- Everything you need to manage your site lives there.
- Always preview on multiple devices before you publish
- What looks great on desktop may need tweaking on mobile.
- . Hit "Republish" every time you make a change
- Edits are invisible to your visitors until you do
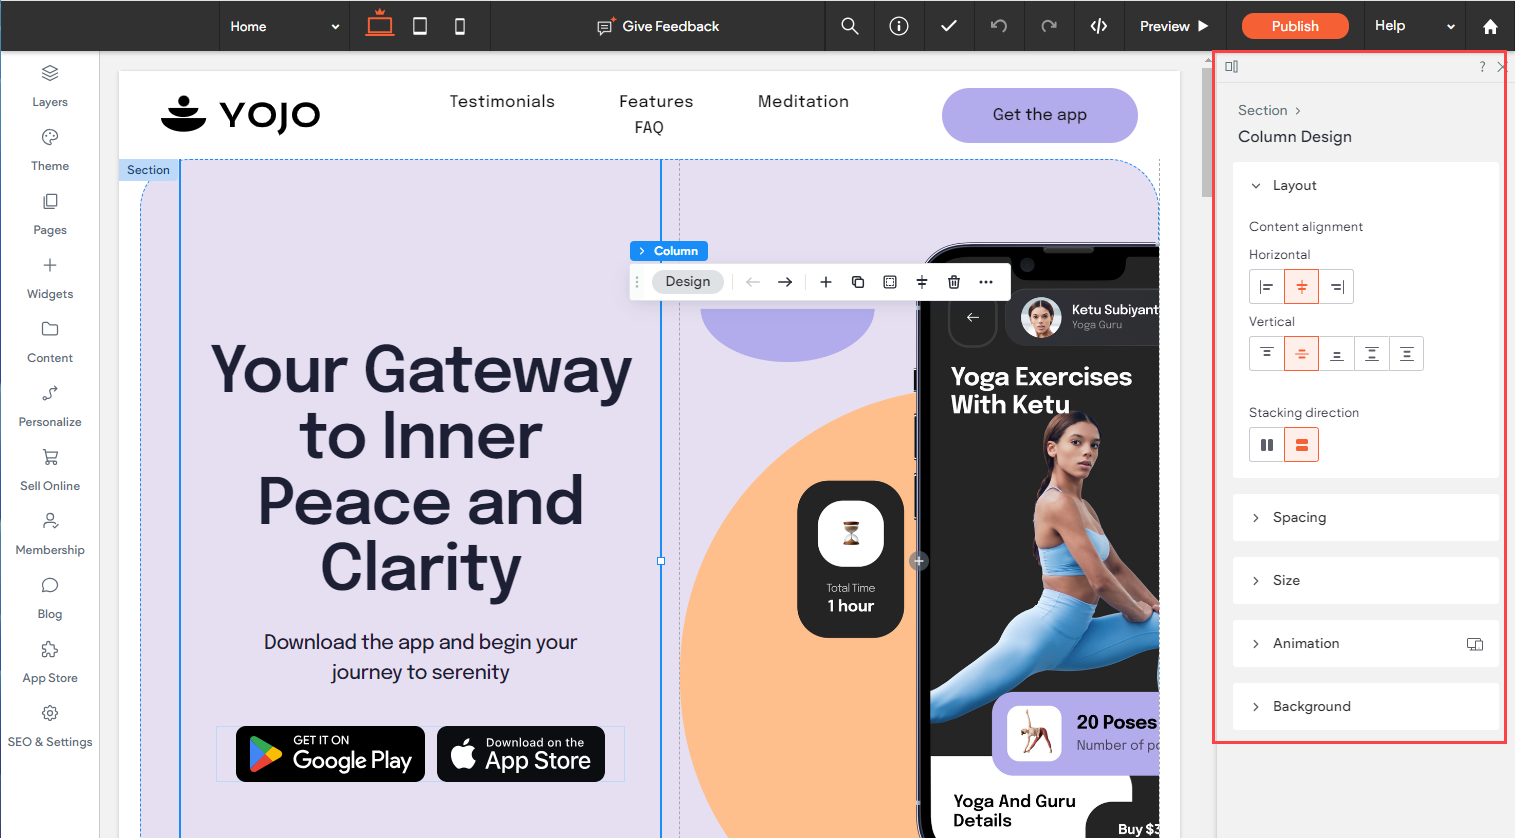
Top Navigation Bar
Use the top navigation bar to move around your site. You can use it to move between pages and between different device views. Click a page to see it, or click a device to see how the current page looks on that device.
The navigation bar includes buttons to undo or redo simple editor actions, save the current site, and preview or republish the site. Also, the top navigation bar indicates when changes to the editor have been saved.
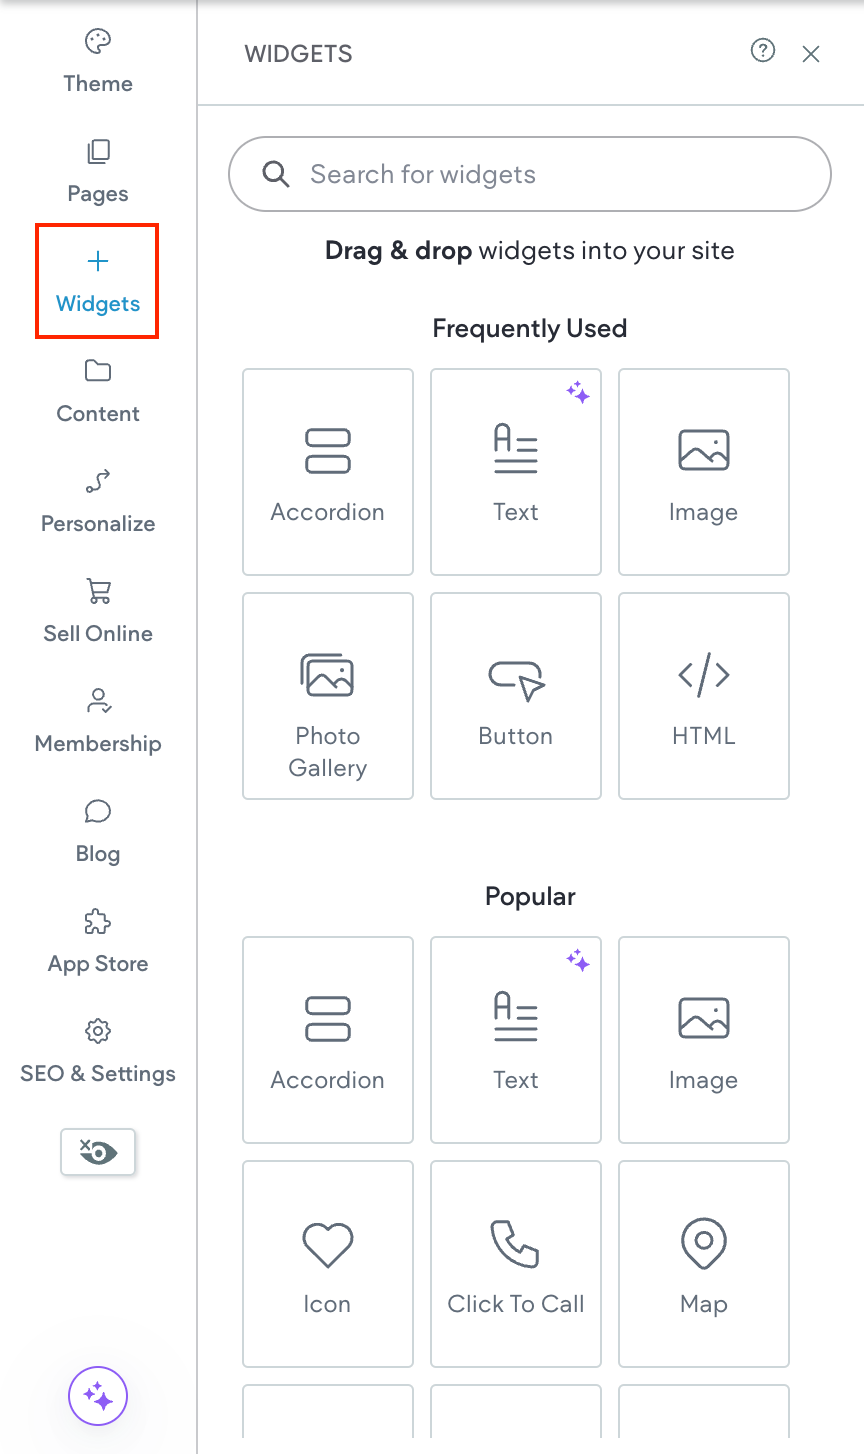
Left Panel
The widgets and features are all located in the left panel. You can discover tools to edit practically anything on your site right here.
The left panel contains tools for making broad, sweeping changes to the whole site. For example, under the Design tab, you may change the colour scheme or button design, add new features and widgets with the Widget tab, customise your pages in the Pages tab, and make administrative changes in the Settings tab (for example, changing the site's URL).

Quick menu
Getting Started
This section shows us the basics of setting up the website.
How to use it step by step
- Log in to your Website Builder.
- On the Dashboard, click Help or Support.
- In the Help Centre, go to Website Builder.
- Choose Getting Started.
- Open the guides on creating a new site, using templates, and editing your first page.
Widgets
Widgets are the handy tools we drag onto pages like text boxes, image galleries, contact forms and buttons.
How to use it step by step
- From the Help Centre, click Widgets under Website Builder.
- Pick a widget to learn about such as Image Gallery or Contact Form.
- Open the article and follow the steps to find it, add it, and customise it.
Design
The Design section covers the look and feel of the site.
How to use it step by step
- In the Help Centre, select Design.
- Open guides on changing fonts, colours, backgrounds and layouts.
- Follow along. Most articles show screenshots so we know exactly where to click.
Pages and Navigation
This section teaches how to add pages, arrange menus and set up links so people can get around easily.
How to use it step by step
- From Website Builder in the Help Centre, choose Pages and Navigation.
- Select the article you need like Add a New Page or Edit Navigation Menu.
- Read the steps and apply them on the site.
Site Settings
Site Settings controls the behind the scenes bits.
How to use it step by step
- Go to Site Settings in the Website Builder articles.
- Open the instructions for adding a domain, setting up SEO or connecting analytics.
- Follow the guide step by step.
Blog
If we want a blog, this section explains how to set it up and post.
How to use it step by step
- In the Help Centre, click Blog.
- Choose an article like Create a Blog Post or Set Up Blog Layout.
- Follow the simple steps to publish.

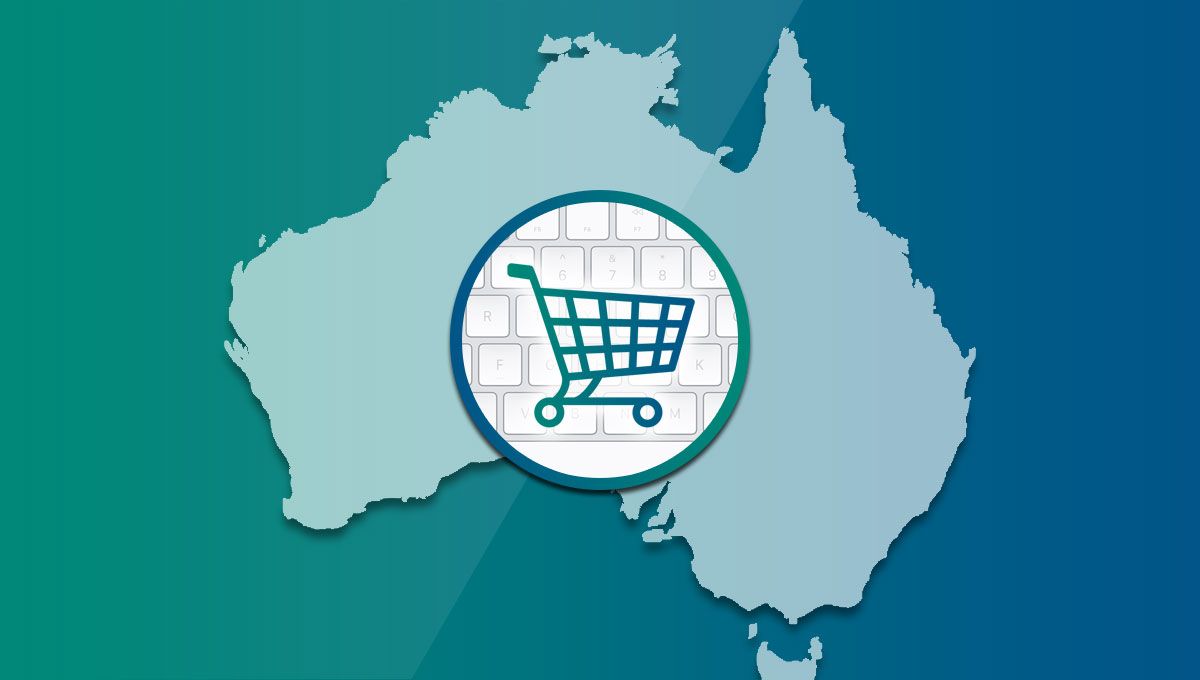
eCommerce
This section is for online stores.
How to use it step by step
- In Website Builder articles, click eCommerce.
- Open guides for adding products, managing stock, setting prices and connecting payments.
- Pick the guide you need and follow along.
Multilingual
If the site needs more than one language, this section shows how to manage translations.
How to use it step by step
- Select Multilingual under Website Builder.
- Open an article like Add a New Language.
- Follow the steps to translate pages and switch between languages.
Developer
This section is for advanced customisation with code. If we are not comfy with code, best to use the visual tools.
How to use it step by step
- In the Help Centre, click Developer.
- Explore guides on custom widgets, CSS changes and API connections.
- Follow the steps carefully and test as you go.
Wrapping Up
All Website Builder articles are neatly organised into sections. Head to the Help Centre, pick the section that fits what we need and follow the steps inside. With this flow we always know where to look and what to do next.


Love My Online Marketing has 10+ Years of working alongside businesses and helping them grow. Discuss your options for online success from website Design and Development through to Google Marketing.
Do you want more traffic and business leads?
Love My Online Marketing is determined to make a business grow. Our only question is, will it be yours?