Crown Street, Wollongong, 2500

Add and Edit Blog Posts
Melody Jaimon • September 29, 2025
Ever wondered how some sites keep things fresh and buzzing? It is usually thanks to a blog. A blog is our space to share stories, updates, and tips in a way that search engines and people both love. Think of it as our online megaphone. Simple to set up, easy to update, and a powerful way to keep folks coming back.
This guide shows everything from setting up the blog itself to creating posts, managing post settings, choosing layouts, connecting elements, and adding widgets that highlight our latest content. No jargon. No fluff. Just clear steps anyone can follow.
Grab a cuppa, use the quick menu, and start turning the site into a spot people check back on regularly.
Quick Menu
About Blogs
What is a blog
A blog is a part of the site where new content appears in posts. It is like a running journal or news feed. Posts stack in order with the latest at the top.
Why add a blog
- Fresh content can improve search rankings.
- We share updates, stories, and expertise in one place.
- It keeps visitors engaged and coming back.
Set Up the Blog
Steps
- Open the editor and add the Blog feature.
- A main blog page is created for us, often with sample posts.
- Open blog settings to adjust title, layout, and defaults.
- Publish to make the blog live.
What the main blog page includes
- A list of posts (the feed) with titles, images, dates, and excerpts.
- Optional sidebar areas for widgets like recent posts or categories.
- Links through to the single post page.
Layout Mode vs Post Mode
Layout Mode
Controls the overall look of the blog page — the feed of posts, any sidebar, and blog widgets.
Post Mode
Controls how a single blog post looks, including header area, author details, featured image placement, and content styling.
Switch between modes in the editor while you design. Tidy the feed in Layout Mode, then switch to Post Mode to style the single post template.
Connect Elements and Move Placeholders
Connect content elements
- Title : Link the page heading to the post title field.
- Author : Connect an author element so it shows on posts.
- Featured Image : Bind the hero image or thumbnail to the post image field.
- Date and Categories/Tags : Connect to their fields so they update per post.
- Content : Use the post content element to display the body of the article.
Move placeholders where we want them
- Drag and drop placeholders like title, author, date, and featured image to new positions.
- Reorder sections to put the image above or below the title, or move author details into a sidebar.
- Keep it clean. On mobile, stack in a sensible order: title, image, content, meta info.
Blog Permissions
Permissions let us control who can write, edit, or publish posts. Handy when a team is involved. Some users can draft posts, while others review and publish.
- Writer : Create and edit their own drafts.
- Editor : Edit any post and publish.
- Viewer : Read-only access, if needed.
Add and Edit Blog Posts
Add a new post
- On the Blog page, click Add Post.
- Type the title and content.
- Upload a featured image.
- Set categories or tags to group related posts.
- Save as draft or publish right away.
Edit an existing post
- Open the post you want to update.
- Edit text, swap images, or change categories and tags.
- Save or republish to apply changes.
Publish and manage
- Schedule posts to go live later.
- Unpublish if a post needs to be hidden temporarily.
- Use search and filters in the posts list to find older content fast.
Manage Post Settings
Post settings control how each article looks and appears across the site and search. Tweak these to polish content and lift clicks.
Key settings
- Title and URL Slug for clarity and readability.
- Excerpt for lists and widgets — one or two punchy sentences.
- Featured Image for thumbnails and social shares.
- Author , Categories , Tags for structure and browsing.
- SEO Title and Meta Description for search results.
- Social Share Image so posts look good on socials.
- Publish Status : Draft, Scheduled, or Published.
- Redirects if the slug changes after publishing.
Update settings step by step
- Open the post and find Post Settings.
- Adjust title, slug, excerpt, and featured image.
- Set author, categories, and tags.
- Add SEO title and meta description; pick a social image.
- Choose Draft, Scheduled, or Published. Save.
- If the slug changed, set a redirect from old to new.
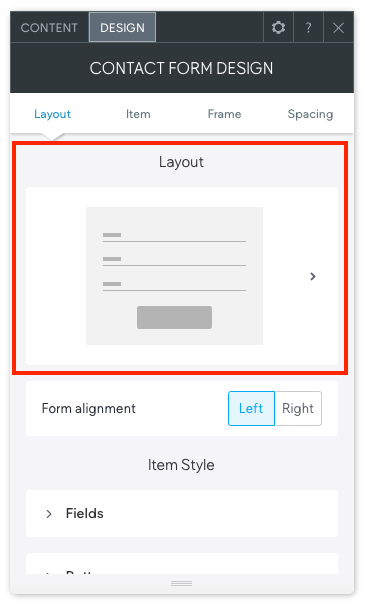
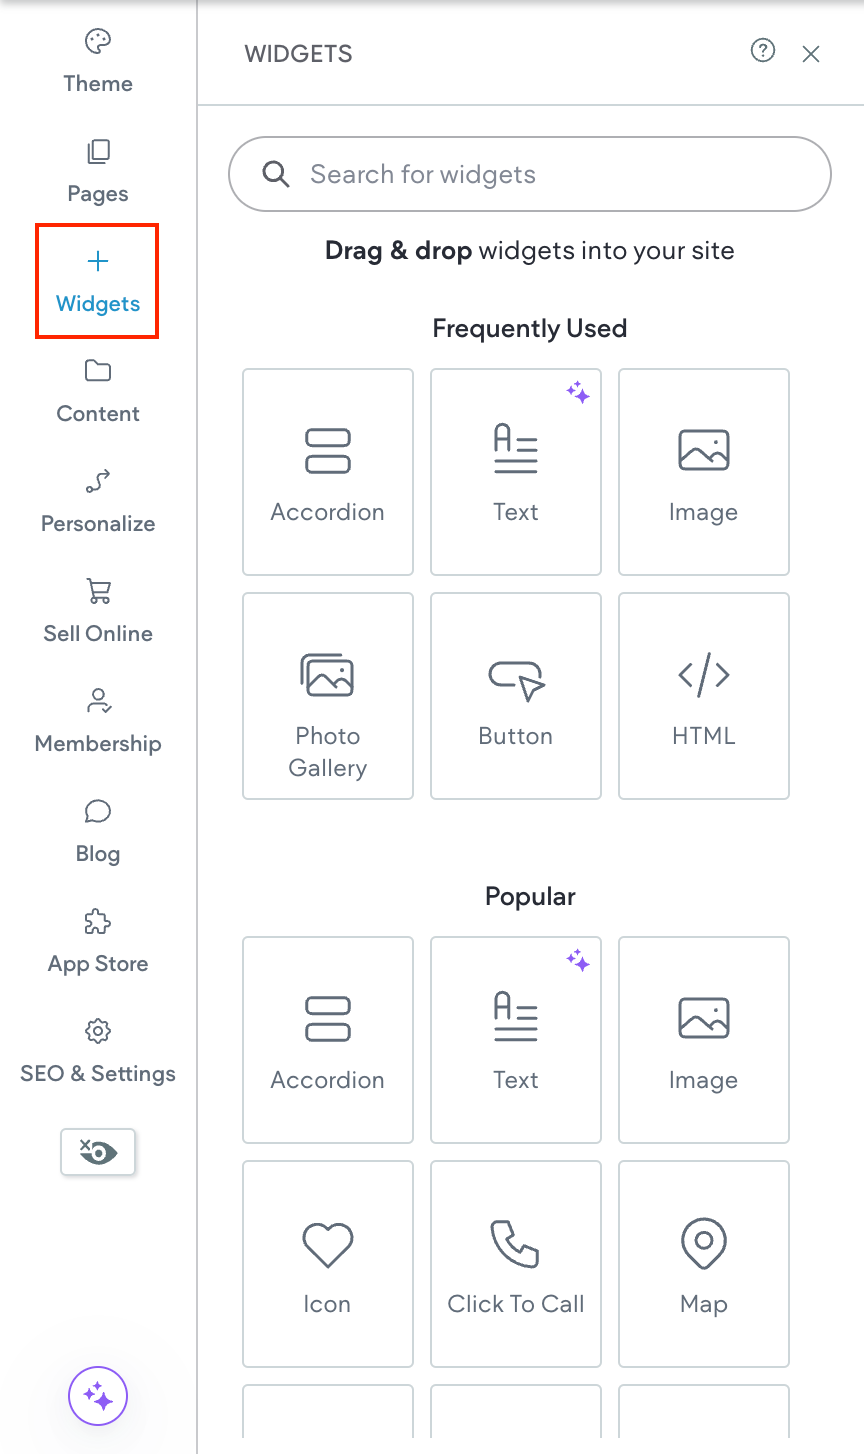
Blog Widgets (All Posts / Recent Posts)
Widgets let us show blog content around the site. Great for homepages, sidebars, or footers.
All Posts widget
- Displays the full blog feed or a filtered set.
- Content options usually include which categories to show, how many posts, and sort order.
- Design options cover layout, image ratio, spacing, and typography.
Recent Posts widget
- Shows the latest posts only, perfect for sidebars.
- Control count (for example 3 to 5), show/hide images, and excerpt length.
- Match styles to the site so it looks seamless.
Handy tips
- Keep excerpts short so lists stay tidy.
- Use consistent featured image sizes to avoid jumpy layouts.
- Link widgets to the main blog page for easy browsing.
Takeaway
A strong blog is not complicated. Set up the blog, keep the layout clean, connect the right elements, manage post settings smartly, and publish on a steady rhythm. Short and helpful beats long and waffly every time.
Watch what readers click and share. Rework titles, tighten slugs and meta descriptions, and keep images sharp. Over time we build trust, climb the rankings, and turn readers into customers.
Want to dig deeper on any part of the setup or widgets? Jump into the help centre resources here for extra examples and advanced tips. When in doubt, keep it simple and hit publish.


Love My Online Marketing has 10+ Years of working alongside businesses and helping them grow. Discuss your options for online success from website Design and Development through to Google Marketing.
Do you want more traffic and business leads?
Love My Online Marketing is determined to make a business grow. Our only question is, will it be yours?